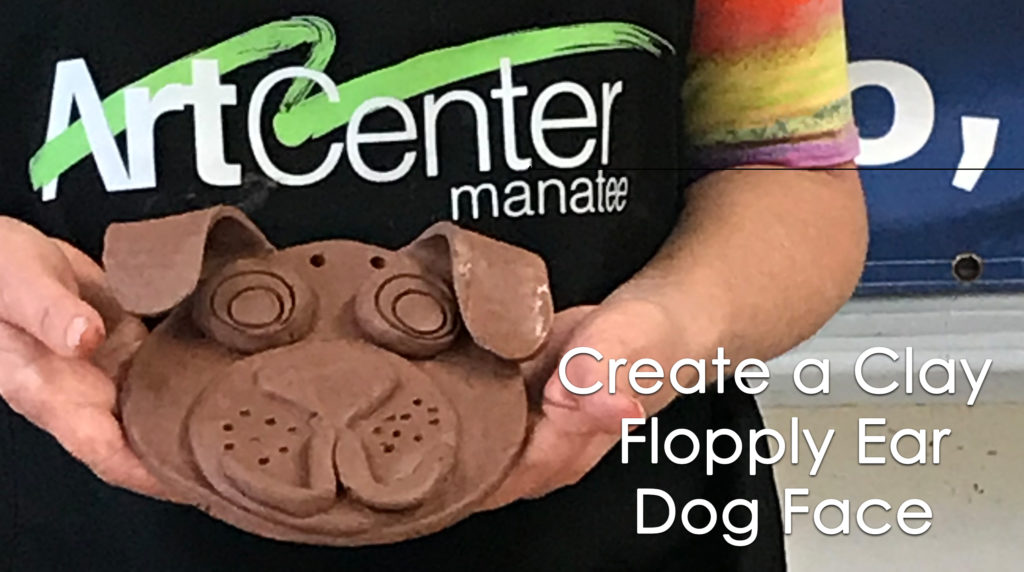
Creative projects for kids to complete at home. Recommended ages 6-10. Adult supervision is recommended.
ArtCenter Manatee offers this project free of charge to all the children who are registered. We will provide the clay and firing in our kiln.
Call 941-746-2862 to Register for this project.
ArtCenter Manatee provides:
- Red clay
- Package with plastic knife and fork
- Form to complete with name, address and phone number so you can be called after the dog has been fired at the ArtCenter
- Firing of the clay dog at the ArtCenter
- String to hang dog
Supplies needed from home
- Flat cardboard to use as a work surface. Either an open cereal box or cardboard box. The clay can stain cloth and material
- Two bowls to use as a template for circles. A frozen whipped cream container is about the right size for the larger circle. The other bowl should be about 1/3 smaller, such as a small yogurt container.
- A bowl with water in it
- A paper towel to wipe your hands
- A narrow chopstick or wooden skewer to write name on the back and to make holes for hanging it
- The top of a large glue stick, the top of a smaller glue stick and the top of magic marker to make concentric circles for the eyes
- A rolling pin or large round dowel for rolling out the clay
- Acrylic paint to decorate it after it is fired in the ArtCenter kiln
Steps to make a Clay Floppy Ear Dog Face
- Roll the clay into a smooth ball, then flatten it with the heel of your hand. Roll it out into a large oblong shape, turning it over and around as you roll it to make it smooth. We’ll need to cut 2 circles out of it.
- Cut a large circle for the face using the whipped cream container on top of the clay near one side, then cut around the container with the knife.
- Scratch your name on the back of the large circle using the narrow end of the chopstick or a wooden skewer.
- Cut a medium circle about 2/3 the size of large circle, using the yogurt container on top of the clay, then cut around the container with the knife.
- Smooth edges of both circles with wet finger
- Scratch front of large circle & back of medium circle w/ serrated part of knife and attach medium circle to bottom of large circle for mouth area
- Make a small round ball then flatten it into a triangle (about 1/3 size of medium circle). Indent 2 areas at bottom of triangle for nostrils. Nose should look like a mushroom. Moisten and scratch back of nose and area near top of medium circle. Attach and press down.
- Make a long thin coil out of the clay about the length of two fingers but much narrower. Cut in half. Scratch and attach at bottom of triangle nose curving around to edge of medium circle for mouth
- Make 2 round balls, flatten and scratch & attach above the medium circle for eye sockets. Smooth inside of eye with finger and press to make sure it is attached.
- Make 2 smaller balls, flatten for eyeballs. Scratch & attach at bottom of eye sockets
- Make an indented hole using the chopstick at bottom of eyeball for pupils, smooth with finger
- Make multiple indentations using the tip of your chopstick or skewer above mouth area for whiskers
- Roll out two pieces of clay about the width of three fingers into “U” shaped floppy ears. Cut straight across the bottom.
ArtCenter Manatee, 209 9th St W, Bradenton, Fl 34205 941-746-2862


Follow us on